
Install ExpressionEngine using its security features right out of the box.
Updated: October 2025
This walkthrough is designed to help first-time users install ExpressionEngine on a local development environment for version control in a process that makes use of built-in security configurations; and remind seasoned users of the steps of completing both of installing and configuring with one effort. Our details may not match yours exactly - we will point out where your details might be different.
It was created in 2021 and uses examples from ExpressionEngine 6 - newer versions of ExpressionEngine haven't changed much.
We will:
- Hide ExpressionEngine below the document root so that server rules protect it from being browsed or written by the public.
- Anonymize the name of the system directory to better protect it from one-size-fits-all attacks.
- Anonymize our Control Panel access point to conceal our control panel from one-size-fits-all DDOS and brute force attacks.
- Install ExpressionEngine on a local development with our own naming conventions on a Mac operating system. This approach also works for DDEV and other local emulators.
- Secure ExpressionEngine from unwanted attacks before the code ever hits a live server, using first-party configurations intended for the purpose.
Before you begin
This tutorial will be working on a mac-based PHP setup with a working local url. You will need a local URL that works and has access to a LAMP stack (php, database - same as what WordPress needs.) We will be working from a custom directory structure designed to conceal some components below the document root, while masking access points. This prevents the need to secure ExpressionEngine further down the line when more may be at stake, and mistakes or missteps become expensive. Keep in mind that this process can be done according to your custom naming conventions.
Here is our initial project directory structure:
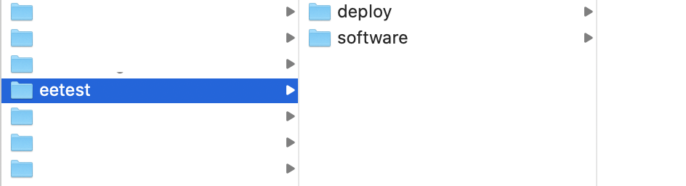
Initial project directory structure on mac OS
Easy-to-follow steps:
Download the ExpressionEngine software and place it in the "software" directory. Unzip the software.
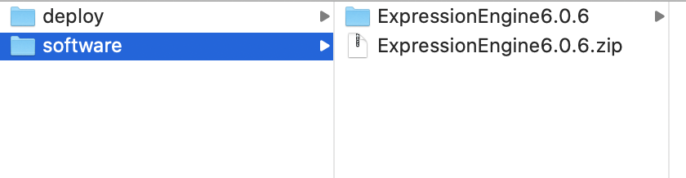
Directory image showing unzipped ExpressionEngine software
Rename the new directory with the EE software "public" (or "docs" or "web" or anything else your ultimate host may prefer for your document root. You can change this later.)
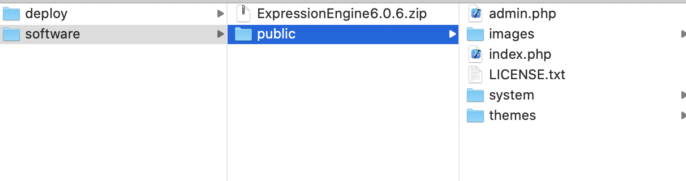
Renamed directory "ExpressionEngine 6.0.6" to "public"
Next, drag and drop "public" from "software" into "deploy":
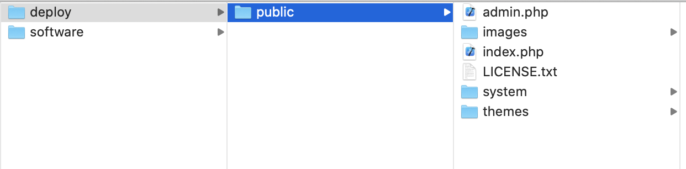
"public" directory shown inside "deploy"
Your local URL (here, https://www.eetest.loc) should be mapped to your local environment's "public" directory. If you enter your local URL in a browser, and it does not resolve to a page, double-check now that you have server paths configured exactly right. Depending on your choice of local environment emulator, it will reflect something like:
For Homebrew or native mac:
/Users/you/Code/eetest/deploy/public
For vagrant or homestead:
/home/vagrant/Code/eetest/deploy/public
For DDEV, where deploy is the DDEV root:
/var/www/html/publicNote: Your version control will ultimately sit in "deploy" - you will have an easier time pushing your code live matching your live host's naming convention for the document root directory name, e.g. "public".
A quick security move
Next, drag "system" out of public and into "deploy", one level back.
This configuration removes the system folder (and all sensitive files) out of the document root, so they are cut off from public access altogether. Don't worry! Your index.php file will be able to navigate to them.
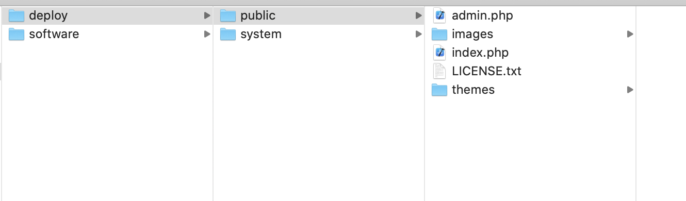
"system" directory in new position as sibling to "public"
Next, rename "system" anything you want. Here, we are using "ee-admin".
Renaming the system directory is another step in obscuring paths from bots or hackers who might use off-the-shelf conventions to sniff for information about website software. Such strategies notoriously look for "wp-admin.php" or "wp-login.php" across any domain.
Beware renaming this to anything too random to be recognized by proper human administrators. A simple shift from "system" is enough.
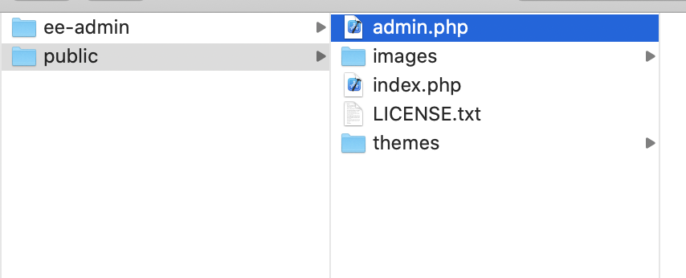
"system" directory renamed "ee-admin"
Next, open "index.php" and "admin.php" in "public", and make the following change near the top of each document, reflecting your personal choice of naming and the new position of the directory formerly named "system":
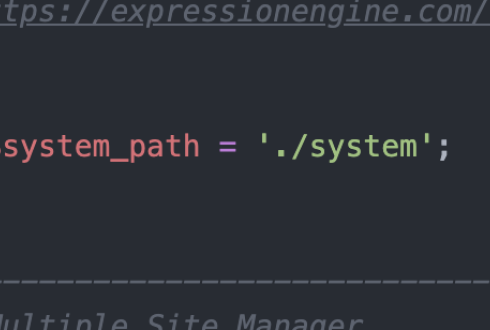
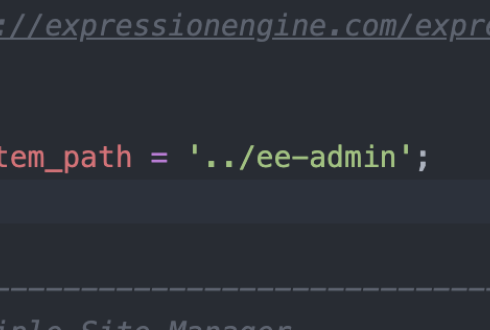
Navigate to http://eetest.loc/admin.php
(I mean, whatever URL you are developing on.)
This error is okay. It means that your URL is reaching ExpressionEngine. If you do not get this screen, you may have a misconfiguration with your testing domain reaching ExpressionEngine.
You may see this if the above line of code does not match the position and/or spelling of your former "system" directory, and even if you have done everything right up until this point. It reveals that ExpressionEngine is partially installed. Check the paths you added to index.php and admin.php for exact accuracy, keeping in mind that varying captialization, spacing, and inconsistent spelling may incur unpredictable results:
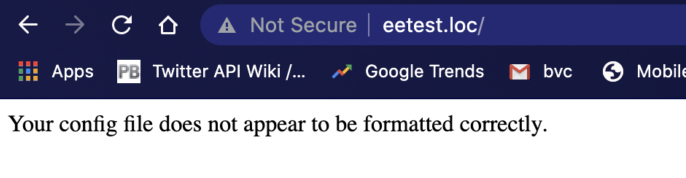
If your index.php file cannot find your former system folder, you'll see this. Check your $system_path.
If all is well, you should see this:
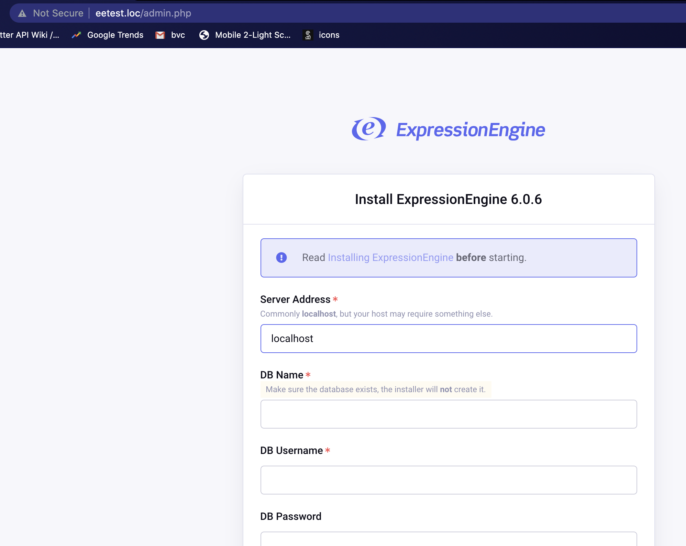
You made it! ExpressionEngine is ready to connect to the database.
The last thing we're going to to to secure our ExpressionEngine instance on install is to rename "admin.php" to "manage.php" (or whatever-you-want.php)
This move may help to prevent the "wp-login.php" effect where bots can access the admin entry and spam username/password combinations, which can lead to Denial of Service or worse, a hacked website.
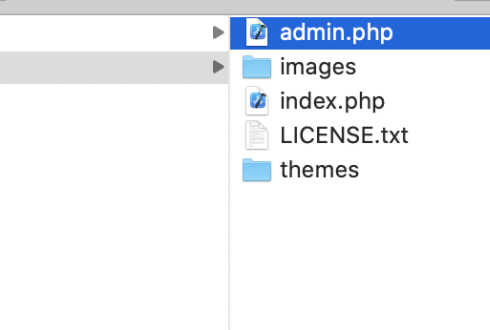
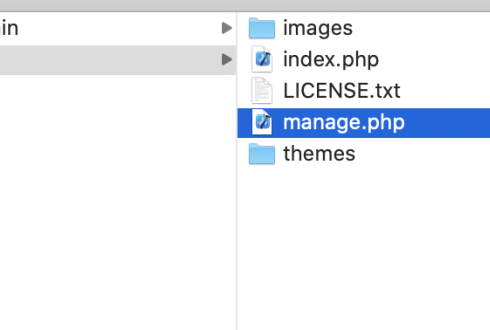
Now go back to the browser and access the same page at your new filename:
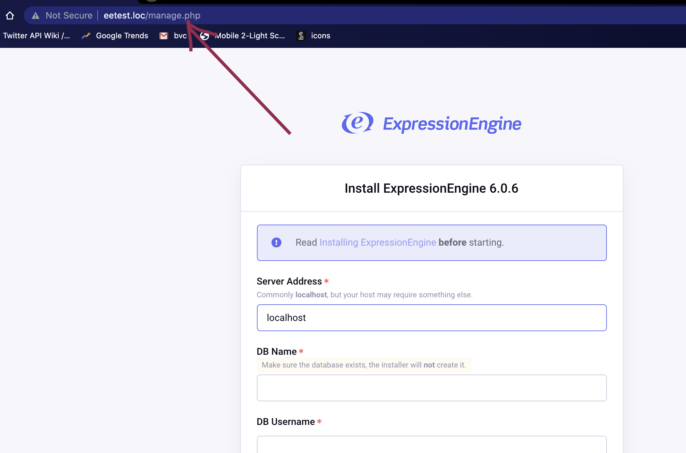
Look for the exact same screen at your new URL
It all went well if you have the same screen.
Finish your install
Add your database credentials in this screen. Here's what ours looked like in Homestead a few years back. We named our database 'eetest', and used the standard "homestead/secret" username/password combo provided by this easy to set up local environment.
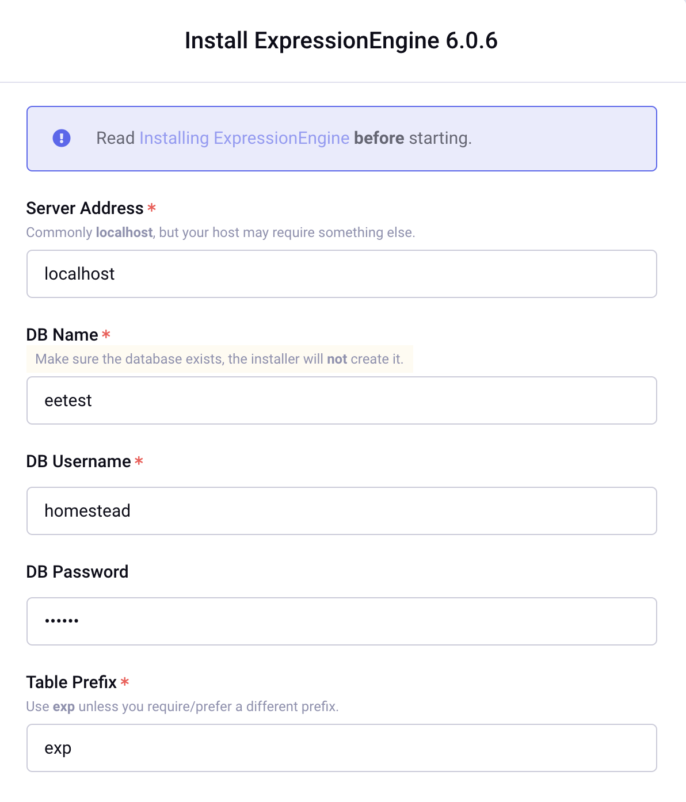
Database credentials are the main part of the final installation step.
Default theme - this is for member management. We skip it:
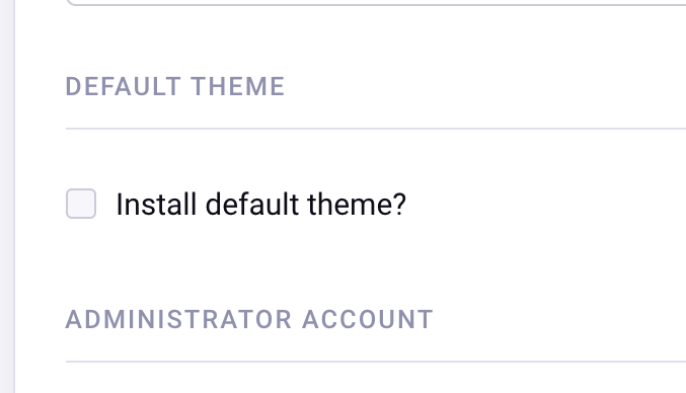
We skip installing the default theme.
The next fields ask you for username and password for yourself, the new Super Admin.
Add these, and agree to terms. If all goes well, you should see this screen:
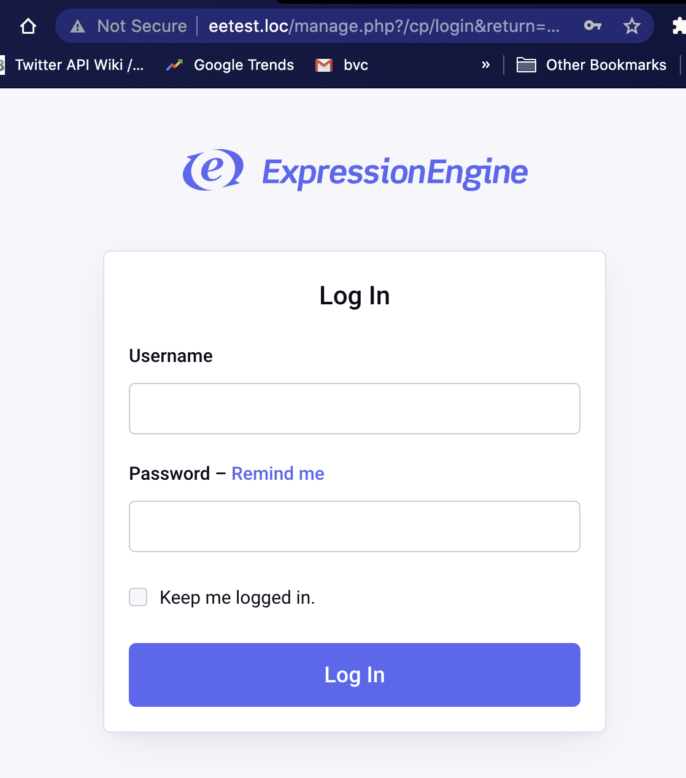
ExpressionEngine control panel login screen
And the front-end will look like this:
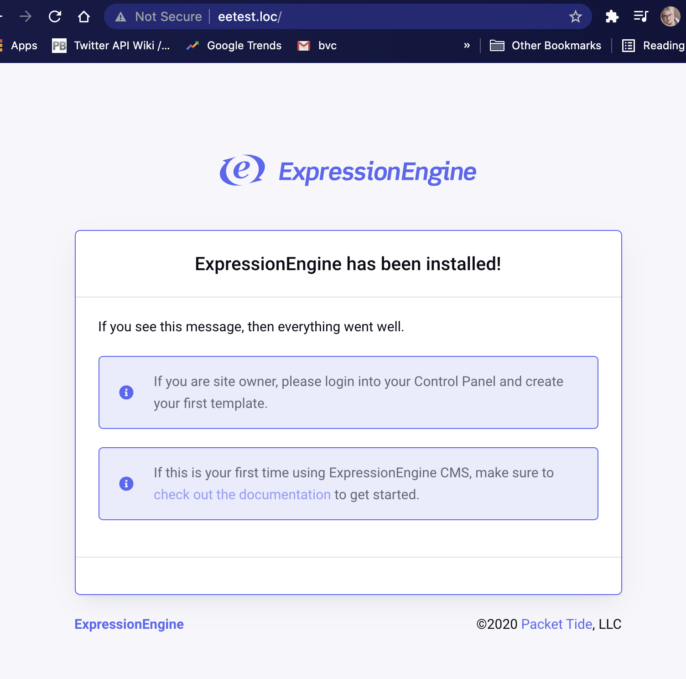
Freshly installed ExpressionEngine home page
You're done!
Time to log in and create some fields and channels to proceed with your project.
What we did:
- We hid ExpressionEngine below the document root so that it can run our website without being browsed or found by any entity that arrives at our website.
- We masked our Control Panel access by changing "admin.php" to something that doesn't exist in documentation but is easily remembered by us.
- We installed ExpressionEngine locally putting our custom naming conventions first, in a way that will publish to a server securely.
Keep in mind:
- When setting up version control, set it up in "deploy" so that it can track both EE software and changes to the "public" directory.
- If "public" doesn't match your chosen host's conventions, it may be easier to change your code to match your host in your code structure - just remember to change your local environment settings (Homestead.yaml in vagrant/homestead)
- Your live server will have a different database setup. You may also want to add preferences for local, staging, and production environments that don't have to be the same, yet are governed by the same files. This instance isn't ready to be published without a multi-environment database and config set-up. This is an extra step that will have to happen before you publish to a server.
Further reading:
- Installing ExpressionEngine - https://docs.expressionengine....
- Setting up vagrant/homestead - https://laravel.com/docs/8.x/h...
- Getting started with DDEV - https://ddev.com/get-started/